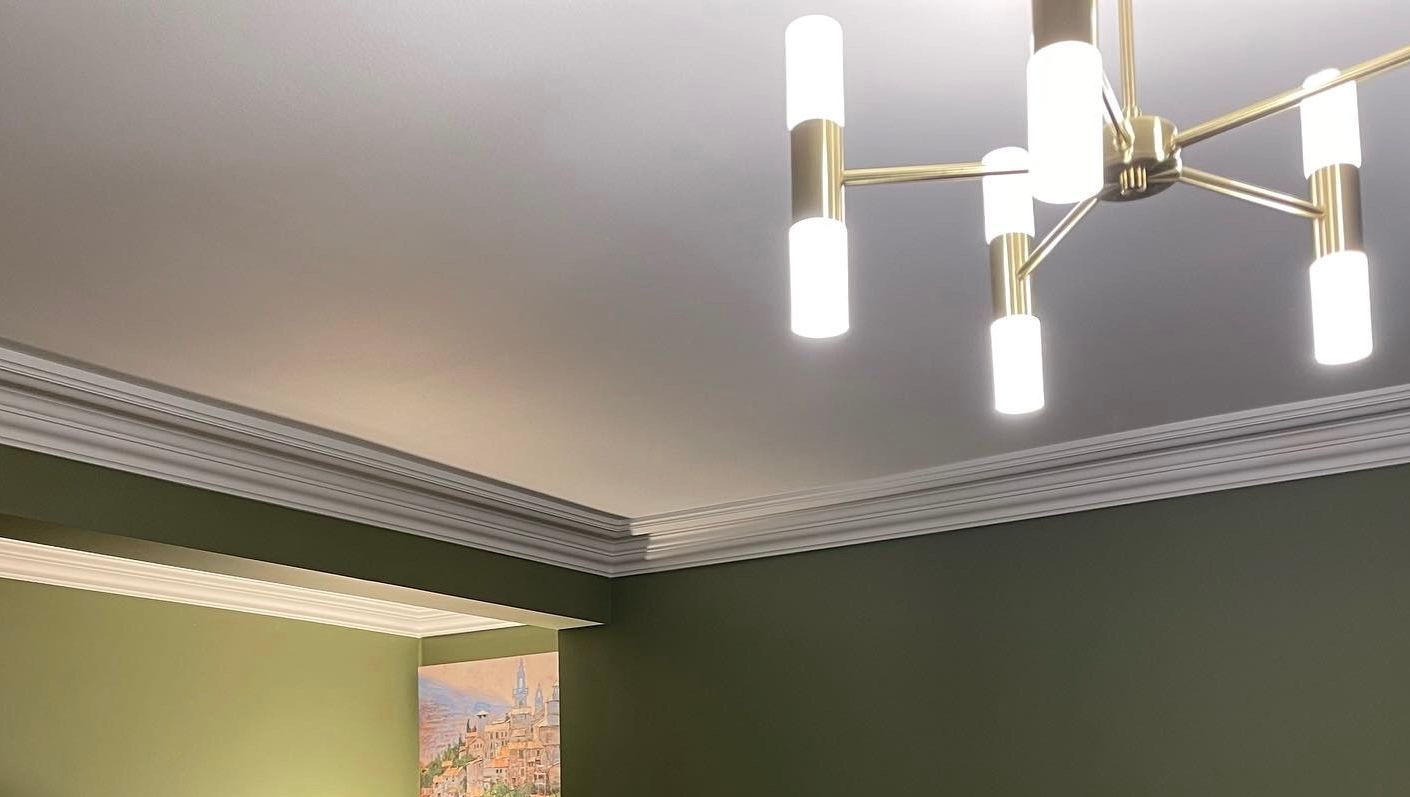
How to Paint a Ceiling
Painting a ceiling can be a daunting task. Most people prefer to get a professional decorator in to do it, but if you like a challenge and have the right tools and techniques, it can be a satisfying DIY project. In this detailed guide, I’ll walk you through the steps to paint a ceiling effectively and efficiently.

Materials and Tools You’ll Need:
1. Paint: Choose a high-quality ceiling paint in the desired color and finish (typically flat or matte for ceilings).
2. Primer: If the ceiling has stains or is being painted for the first time, use a stain-blocking primer.
3. Paint Tray and Liner: For easy access to the paint.
4. Roller: A long-nap roller cover (3/8 inch or 1/2 inch) for textured ceilings or a short-nap roller (1/4 inch) for smooth ceilings.
5. Extension Pole: To reach high areas without a ladder.
6. Painter’s Tape: For masking off walls, trim, and fixtures.
7. Drop Cloths: To protect your floors and furniture.
8. Paintbrush: For cutting in the edges and corners.
9. Sander: To smooth any imperfections in the ceiling.
10. Safety Gear: Goggles, dust mask, and a hat to protect yourself. Believe me you don't want paint getting in your eyes while looking up.
Step 1: Prepare the Room
Before you start painting, it’s crucial to prepare the room:
• Clear the room of furniture or cover it with drop cloths.
• Remove light fixtures or ceiling fans, or cover them with plastic.
• Clean the ceiling by removing any dust or cobwebs.
• Repair any cracks, holes, or imperfections in the ceiling. Use spackling compound, allow it to dry, and sand it smooth.
Step 2: Tape and Protect
• Apply painter’s tape to protect the walls, trim, and any other surfaces you want to keep paint-free.
• Cover the floor and furniture with drop cloths to prevent paint splatters.
Step 3: Prime the Ceiling
If your ceiling has stains or hasn’t been painted before, it’s a good idea to apply a primer:
• Stir the primer thoroughly and pour it into the paint tray.
• Using a roller, apply a single coat of primer evenly across the entire ceiling.
• Let the primer dry as per the manufacturer’s instructions.
Step 4: Mix and Load the Paint
• Stir the ceiling paint well to ensure an even consistency.
• Pour the paint into the paint tray, filling it no more than halfway.
Step 5: Cut In
Cutting in is the process of painting the edges and corners of the ceiling with a paintbrush:
• Using a high-quality paintbrush, carefully paint a border around the ceiling, about 2 inches wide, where the ceiling meets the walls.
• This will make it easier to roll the rest of the ceiling without getting paint on the walls.
Step 6: Roll the Ceiling
• Attach a roller to the extension pole for easy reach.
• Dip the roller into the paint tray, and roll off excess paint on the tray’s ridges.
• Start in one corner of the room and roll the paint in straight lines, working in small sections.
• Be sure to overlap each section slightly to avoid missed spots.
• Work in a “W” or “M” pattern to ensure even coverage.
• Continue until the entire ceiling is painted.
Step 7: Allow to Dry and Inspect
• Follow the drying time specified on the paint can.
• Once the first coat is dry, inspect the ceiling for any missed spots or uneven areas.
• Touch up any imperfections with a second coat if necessary.
Step 8: Clean Up
• Remove the painter’s tape and drop cloths carefully.
• Clean your brushes, rollers, and other tools with water or a suitable cleaning solution.
• Reinstall any light fixtures or ceiling fans that were removed.
Painting a ceiling can be a bit physically demanding, but with patience and the right equipment, you can achieve a professional finish. Always follow safety precautions and take your time to ensure a clean, beautiful ceiling. Happy painting!

